Plaster Repair in Toronto, ON - Lath and Plaster Cracks, Lime Plaster Patches & Skim Coat Finishing
GTA Drywall Specialists

Plaster Repair in Toronto, ON - Lath and Plaster Cracks, Lime Plaster Patches & Skim Coat Finishing

Toronto Drywall Pro repairs original plaster walls and ceilings in Toronto's older housing stock - hairline cracks, keyway failures, delaminated sections, and large-format plaster damage from water infiltration or renovation work. Most pre-1970 Toronto homes have three-coat plaster over wood or metal lath, and repairing this system correctly requires a different approach than standard drywall patching. We diagnose each repair with a tap test to map delamination before opening any wall, so the scope is accurate before work begins.

Plaster repairs that use only joint compound over a keyed lath opening will crack and pop within one to two years - the compound lacks the bond strength to bridge the transition between original plaster and new substrate. We use setting-type compound for all first-coat plaster fills, bonding agent on all cut plaster edges, and fibreglass mesh tape to bridge any crack or joint wider than a hairline. Where the lath behind the plaster is damaged, we install a rigid drywall patch keyed into the surrounding plaster perimeter and feather the transition over 12 to 18 inches so the repair is invisible after painting.

Licensed & bonded · WSIB compliant · Same-week scheduling

22+
Years in Business
2,000+
Projects Completed
4.9 ★★★★★
(127 Reviews)
$2M
Liability Insurance
Common Problems

Why Toronto Homeowners Call Us for Plaster Repair

Pre-war Toronto plaster fails in specific patterns depending on which coat has failed and why. Misreading the failure type leads to repairs that don't hold.

01

Plaster that has separated from the lath

When plaster loses its mechanical key to the wooden lath, the ceiling sags and eventually falls. Sections need to be removed and replaced before the full ceiling comes down.

02

Recurring cracks in pre-1940 homes

Older Toronto homes in Cabbagetown, the Annex, and Rosedale settle seasonally. Plaster cracks that are painted over without re-taping return every winter.

03

Water-damaged plaster that crumbles

Plaster absorbs and holds moisture differently than modern drywall. Once the paper facing and lime matrix are compromised, the section must come out.

04

Matching original plaster texture

Pre-1940 plaster has a hand-applied texture that doesn't match any spray pattern. Matching it requires trowel work, not spray equipment.

Plaster Repair for Toronto’s Older Homes

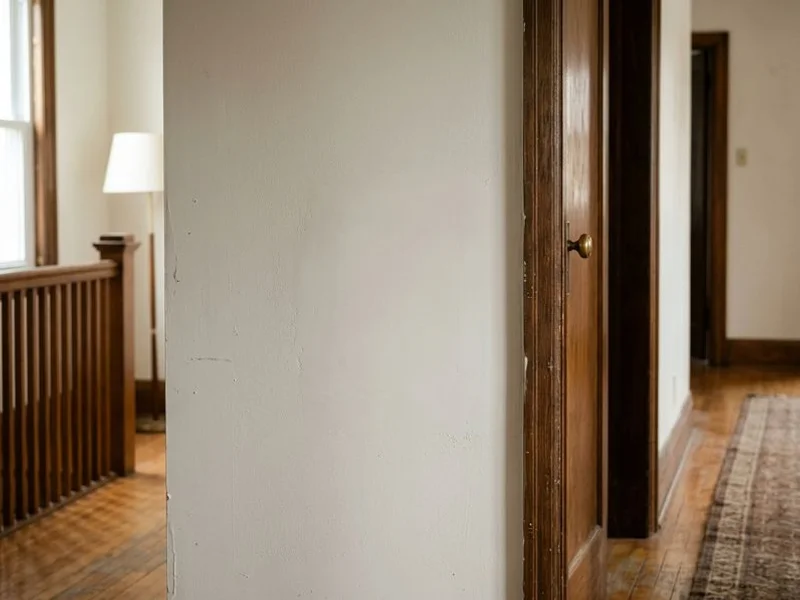
Toronto has more pre-1940 housing stock than almost any other Canadian city. The Annex Victorians, Cabbagetown row houses, Rosedale estates, and Leaside brick semis were all built with lime plaster on wood lath - a durable system when it’s maintained, but one that develops specific failure patterns as it ages.

We specialise in this work. Not every drywall crew does, because plaster behaves differently than modern gypsum board and the repair approach has to match the material.

How Much Does Plaster Repair Cost in Toronto?

  • Single crack repair with re-tape and skim coat: $200 to $400
  • Medium section repair (1 to 4 sq ft): $400 to $800
  • Large section or water-damaged area: $800 to $1,500
  • Full ceiling conversion (plaster removal + new drywall): Quoted on-site by sq ft

What Is Plaster Repair?

Plaster repair - also called lath and plaster repair, heritage plaster restoration, or lime plaster crack repair - is the process of stabilising, patching, or replacing sections of original plaster ceilings and walls in older buildings. Toronto plaster repair is specialised work because pre-1940 plaster is mechanically keyed to wood lath strips (not glued or screwed), ages and dries out over decades, and cracks in patterns that differ from modern drywall failure.

What Does Plaster Repair Include?

  • Probe and tap assessment to identify key failure zones before any cutting begins
  • Mechanical re-keying using construction adhesive and washer screws for stable sections
  • Removal of fully failed sections down to the lath substrate
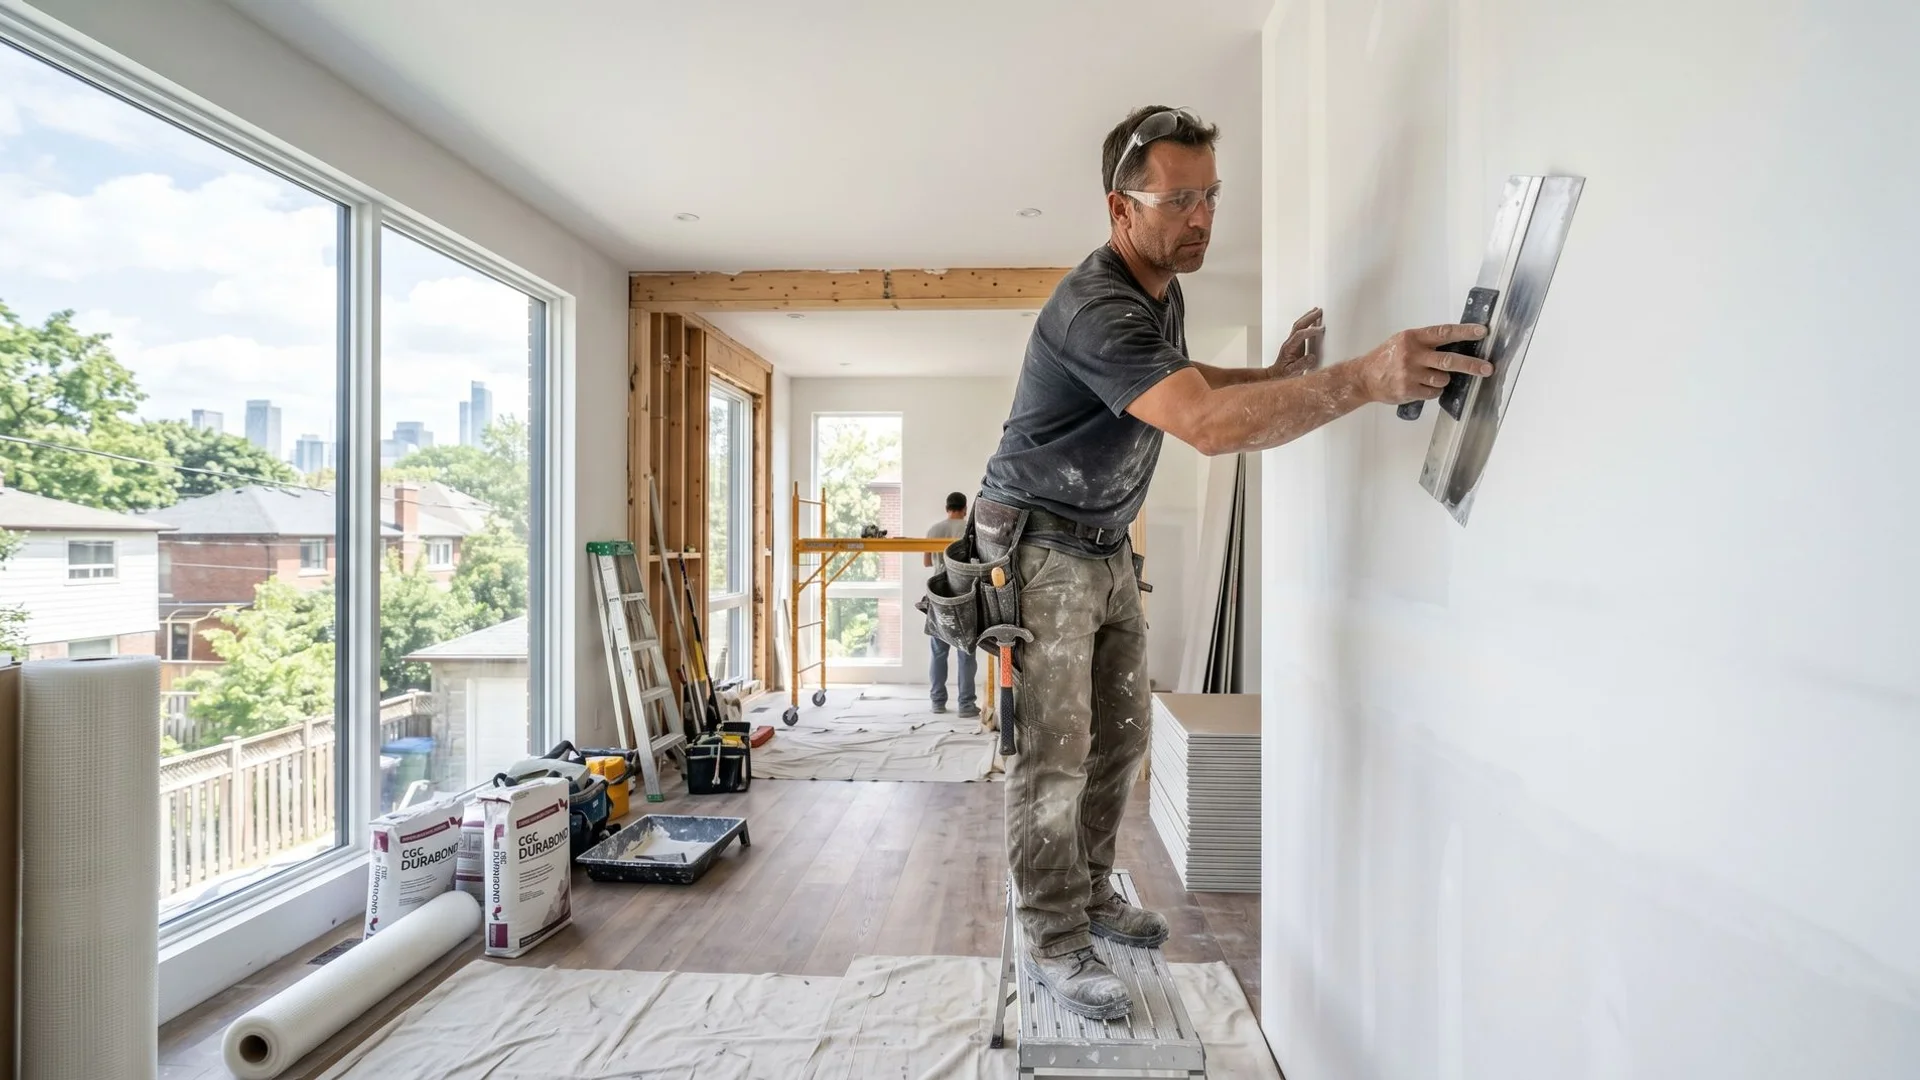
  • New drywall patch installation over existing lath
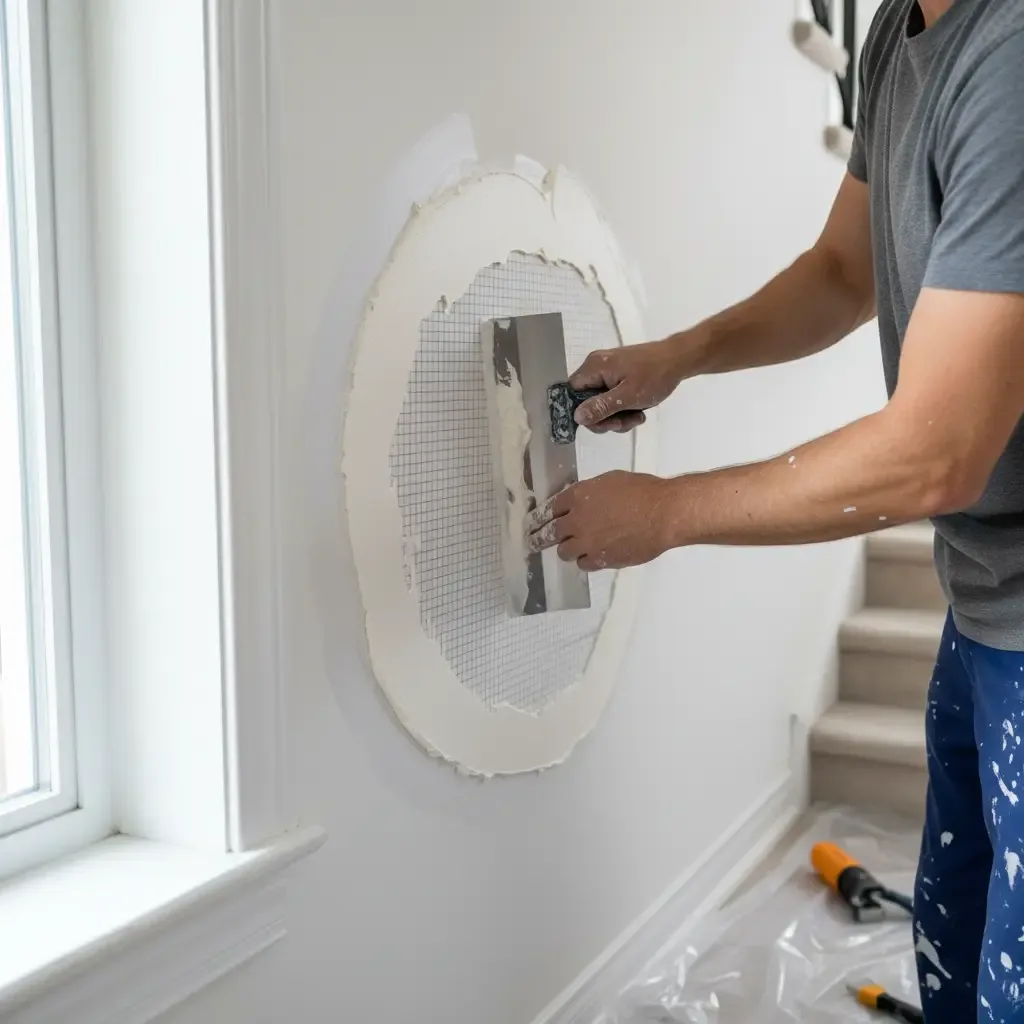
  • Fibre-reinforced USG Durabond setting compound applied in two coats
  • Skim coat and texture matching to surrounding original plaster surface
  • Stain-blocking primer on water-damaged areas before finish coats

How Much Does Plaster Repair Cost in Toronto?

Plaster repair in Toronto runs $200 to $400 for single-crack repairs in pre-1940 homes. Section replacements covering 1 to 4 square feet run $400 to $800. Water-damaged sections or larger repairs run $800 to $1,500. Full ceiling removal and drywall conversion is priced per square foot and quoted on-site. Free on-site assessment available same week.

Who Needs Plaster Repair?

Homeowners in older Toronto neighbourhoods - the Annex, Cabbagetown, Rosedale, Leaside, Riverdale, Forest Hill, and High Park - with pre-1940 plaster ceilings that are cracking, sagging, or showing key failure. Condo boards in converted Victorian buildings. Landlords managing pre-war rental stock. Buyers who’ve just taken possession of an older Toronto home and are assessing what needs immediate attention.

Plaster Failure Patterns We Fix

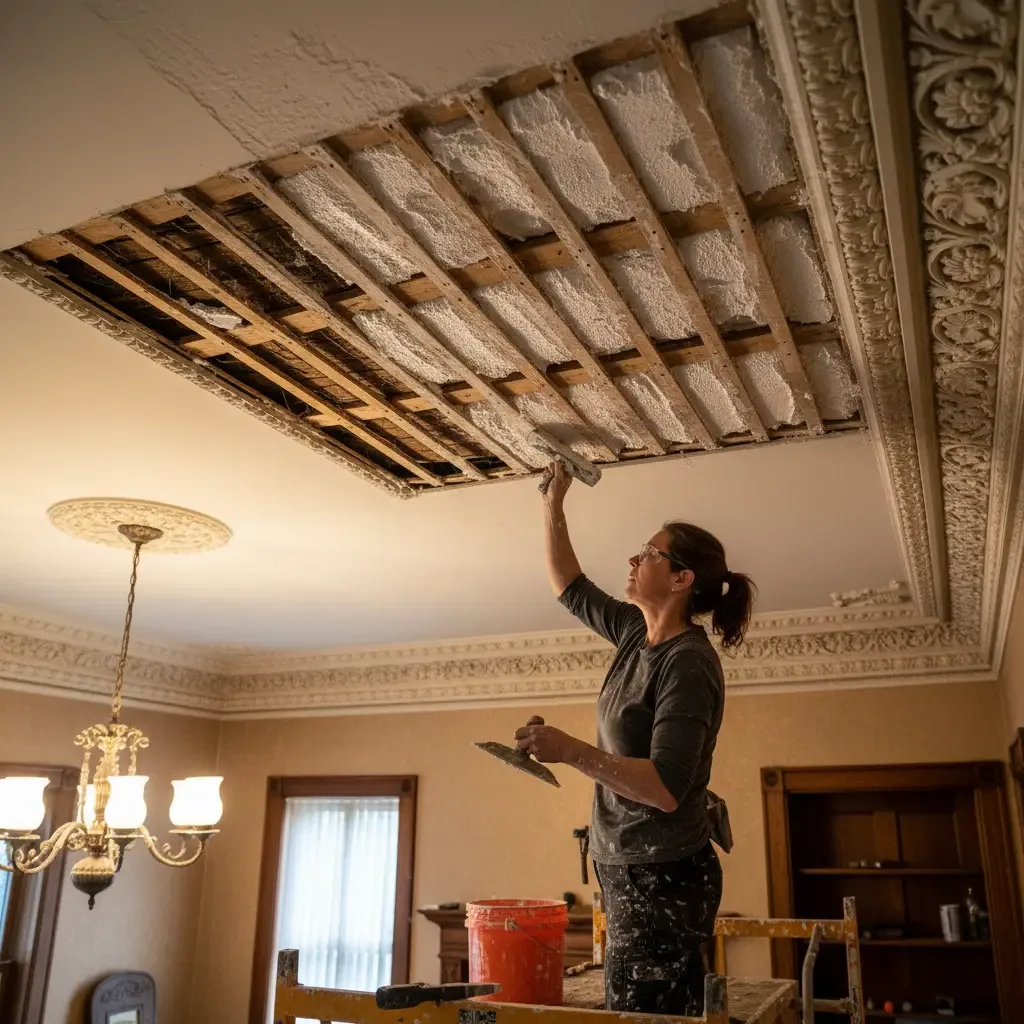
Key failure (plaster separation from lath). The most serious plaster failure. The lime base coat has lost its mechanical grip on the wood lath keys and the ceiling or wall is sagging or hollow-sounding when tapped. Small areas can be re-keyed using construction adhesive and plaster washers. Large areas require removal down to the lath and replacement with new drywall.

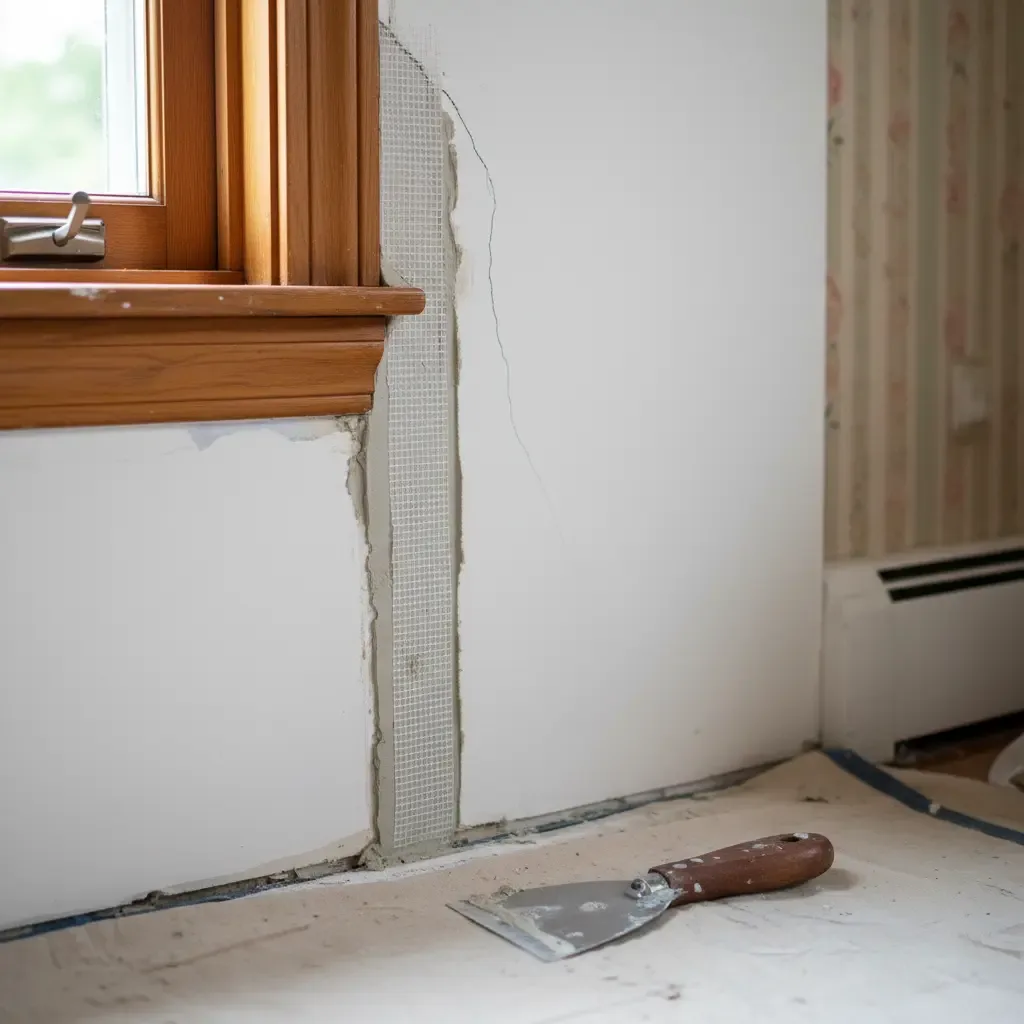
Crack along lath seams. Plaster cracks that follow straight lines at 16-inch centres are following the lath edges. These are structural movement cracks rather than cosmetic surface cracks. We open them with a grinder, embed fibreglass mesh tape, and skim with setting compound.

Random map cracking (alligatoring). A network of cracks across the face coat indicates the finish coat has dried out and shrunk over decades. The base coat is still sound. We apply a bonding primer, skim with a flexible setting compound, and re-finish.

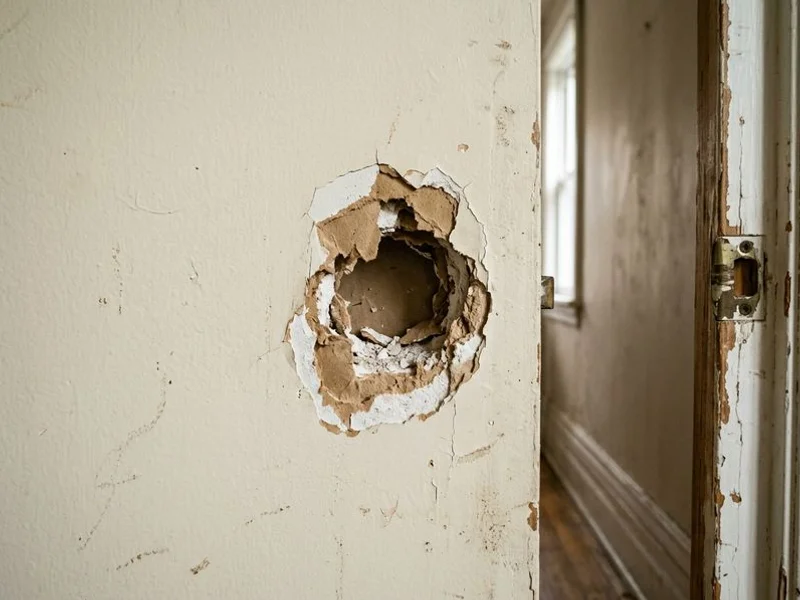
Water-damaged plaster sections. Plaster that has been wet loses its mineral bond and becomes soft or crumbly. We remove the affected section completely, dry the lath, and install new drywall over the existing lath substrate with the correct transition to the surrounding plaster.

Plaster bulge without key failure. Sections of plaster that bulge but haven’t separated can sometimes be stabilised with plaster washers and adhesive. We probe and tap the area to confirm how much is at risk before recommending stabilisation versus removal.

Pre-War Toronto Homes and Plaster

Toronto has more pre-1940 housing stock than almost any other Canadian city - the Annex, Cabbagetown, Rosedale, Leaside, and Forest Hill are full of homes where the original lime plaster is still the wall and ceiling substrate after 80 to 100 years. That plaster was installed by tradespeople using techniques and materials that modern drywall crews don’t learn, and it fails differently than gypsum board.

The typical failure sequence in a Toronto pre-war home starts with the finish coat cracking as the plaster dries out over decades, followed by water infiltration through roof or window issues accelerating the base coat separation, and eventually ceiling sections that are hollow-sounding and at risk of falling. We’ve worked in hundreds of these homes across the Annex, Riverdale, and Rosedale and understand both the repair options and the point at which conversion to drywall is the better investment.

Before plaster repair showing visible damage on older Toronto home ceiling requiring lath stabilisation

When Plaster Repair Isn’t Worth It

There’s a point in every plaster ceiling where repair is no longer the right investment. If the key failure covers more than half the ceiling area, re-keying what remains and patching the failed sections leaves the rest of the ceiling at risk - the adjacent sections are usually at the same stage of failure and will need repair within a few years. A full removal and drywall replacement at that point costs less over a 5-year horizon than multiple rounds of partial repair.

We’ll tell you during the estimate which side of that line your ceiling is on. If stabilisation is viable, we scope it accurately with a realistic assessment of how much of the adjacent ceiling is also at risk. If replacement is the better option, we explain why - the material and labour cost difference, the performance difference, and the timeline for the next repair cycle if stabilisation is chosen instead.

Where We Work

Toronto plaster repair is our most common plaster call, followed by North York and Etobicoke homes from the same era. We also serve Mississauga, Brampton, and all GTA communities.

Our Process

How We Deliver Plaster Repair

Each step has a single owner: our in-house crew. No handoffs, no finger-pointing.

01

On-Site Assessment

We probe the plaster to identify key failure zones, active movement, and sections that must come out versus sections that can be stabilised.

02

Containment

Plastic sheeting, floor protection, and HEPA filtration before any cutting or scraping begins.

03

Repair or Replace

Stable plaster gets re-keyed and skim-coated. Failed sections come out to the lath, new drywall goes in as a substrate, and we feather to match.

04

Texture Match

Original plaster surfaces are rarely smooth - we match the existing texture before any priming.

05

Paint-Ready Handoff

Sanded, primed, and ready for your painter.

Real Work

Plaster Repair: Recent GTA Projects

A look at projects we've recently completed across the Greater Toronto Area.

Plaster Repair project example 1
Recent Project
Plaster Repair project example 2
Why Choose Us

Why GTA Homeowners Pick Toronto Drywall Pro

Two decades of GTA drywall work answering one homeowner question: what makes a drywall job actually last? Here's what we've built around.

Single-Crew Workflow

Framing, hanging, taping, sanding, and finishing all run by our in-house crew. No subcontractor handoffs, no finger-pointing.

Dustless HEPA Process

99.97% airborne particle capture during sanding and popcorn-ceiling removal. You can stay in the home while we work.

Level 4 & Level 5 Finishing

Standard Level 4 paint-ready, or full Level 5 skim coat for raked-light walls and gloss-paint accent applications.

Licensed, Bonded, $2M Insured

Fully WSIB-compliant with $2M general liability. Certificates of insurance available on request for condo boards and PMs.

Ontario Code Specialists

Type X fire-rated assemblies, basement-stair separations, and party walls installed to Ontario Building Code spec.

Transparent Pricing

Free on-site estimate with line-item pricing. No surprise charges. We tell you up front when a patch is enough and when it isn't.

Real Results

What Clients Say About Our Plaster Repair

4.9 based on 127+ reviews

“The popcorn ceiling removal was unbelievable. They told us their dustless process was the real deal and they weren't kidding - we lived in the house through the whole job and not a speck of plaster on the floor. Smooth ceiling, paint-ready, done in two days.”

Sarah Miller
Etobicoke - dustless popcorn ceiling removal

“Burst pipe behind the kitchen wall on a Saturday. They came out Monday morning, documented everything for our insurance, removed the wet panels, and had it back to paint-ready by Friday. Honestly the easiest part of the whole insurance claim.”

James Davidson
Oakville - water damage ceiling and wall repair

“We had three contractors quote our basement. Toronto Drywall Pro was the only one who showed up with a tape measure, walked the whole space, and explained the difference between Green Board and Purple Board. Final job came in exactly at quote.”

Priya Sharma
Mississauga - full basement drywall finishing
FAQ

Questions About Plaster Repair

Can plaster ceilings be repaired without full replacement?

Yes, in most cases. Plaster that is still mechanically keyed to the lath - meaning it hasn't pulled away - can be stabilised with washer screws, re-skim-coated, and painted. Sections where the key has failed completely need to come out, but neighbouring stable sections don't need to be touched.

How do I know if my plaster ceiling is about to fall?

Press gently with your palm. If the plaster flexes, moves, or produces a hollow sound when tapped, the key has failed and the section is at risk of falling. Visible cracks running across the ceiling in multiple directions, combined with ceiling sag, are a clear warning sign.

Do you replace plaster with drywall or use lime plaster?

We use modern drywall as a replacement substrate for failed plaster sections, then skim-coat to match the surrounding texture. We do not do traditional lime plaster application. For heritage restoration requiring authentic lime plaster, we can recommend a specialist.

What causes plaster to crack in older Toronto homes?

Seasonal settlement is the primary cause in Toronto's pre-1940 housing stock. Wood framing in Victorian and Edwardian homes expands and contracts with humidity, pulling at plaster that has become brittle with age. Water infiltration from roofing or plumbing failures is the secondary cause.

How do you secure loose plaster without replacing the whole section?

Loose plaster that is still intact but has separated from the lath can often be re-secured using plaster washers and drywall screws driven through the plaster into the lath. This pulls the plaster back tight to the substrate. The screw holes are filled and the surface is skim coated. This technique works where the plaster face is sound but the keys have broken.

Can you skim coat over plaster walls to create a smooth finish?

Yes. Skim coating is the most common approach for smoothing plaster walls that have settled, cracked, or been patched multiple times over decades. We apply a thin layer of joint compound over the existing plaster, sand smooth, and prime. The result is a flat, paint-ready surface without removing the original plaster.

Is it better to repair plaster or replace with drywall in an older Toronto home?

It depends on the extent of damage and the condition of the lath. Limited damage is usually better repaired to preserve the original plaster character. Widespread failure, active moisture issues, or plaster that has largely lost its key is more economically replaced with drywall. We assess both options and give you a cost comparison during the estimate.

What is the difference between two-coat and three-coat plaster?

Traditional three-coat plaster consists of a scratch coat keyed into the lath, a brown coat that builds thickness and flatness, and a finish coat. Two-coat plaster skips the brown coat. Most pre-1950 Toronto homes used three-coat plaster. Understanding which system you have affects how we approach patching, since three-coat and two-coat plasters require different repair approaches to match thickness.

How long does a plaster repair take compared to a drywall repair?

A plaster repair takes longer because setting-type compounds used in plaster work have longer cure times and typically require more coats to match the thickness of the surrounding material. A drywall patch in the same area might take 3 days. A matching plaster repair might take 4 to 5 days. We confirm timelines based on the specific repair area during the estimate.

Ready to Get Your Plaster Repair Quote?

Free on-site estimate across the GTA. Same-week scheduling for most projects.